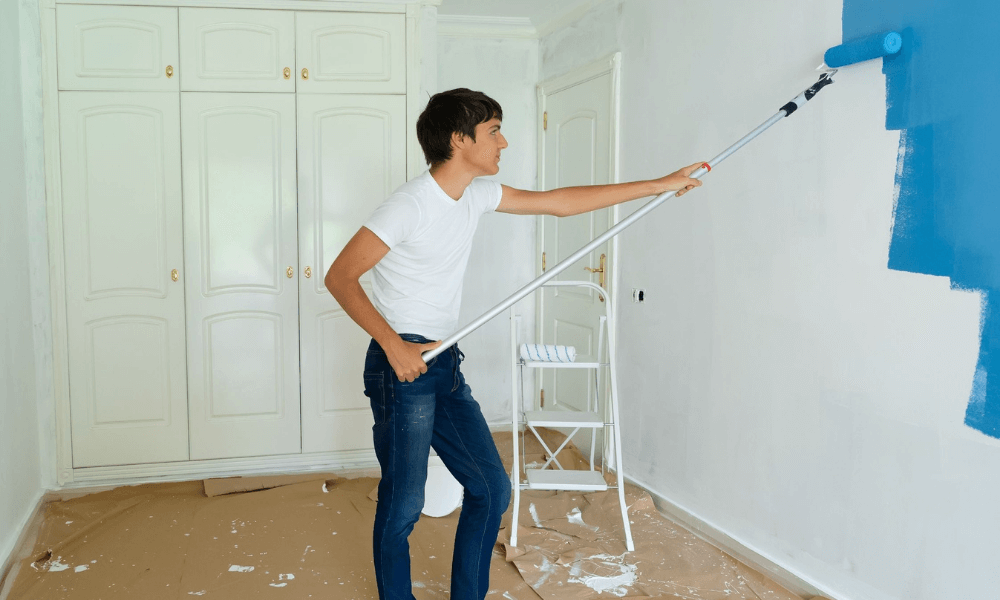
Painting is one of the most important things that happens in a construction project. Besides determining the structure’s physical appeal and aesthetic value, paint has protective properties, commonly from the sun and moisture.
Regardless, many people still look at the painting as the most uncomplicated phase of a project. Contrary to their belief, this process involves a lot of careful planning and the risk of many problems.
Why is It Important to Manage Tasks Properly in Painting?
As previously mentioned, painting is not as simple as it looks. It’s not merely choosing a color and slapping it on a wall; many things need to be considered and prepped before getting on with a paint job.
The lack of organization can turn a relatively simple paint job into a disastrous one. So, as in any construction project, paint contractors need to stay on top of things. The main reason staying organized is essential is it decreases the chance of making mistakes or creating problems. Preventing problems in painting is vital to make it last longer. Here are a few other reasons why proper task management is essential in doing projects:
- Lower stress levels
- Increased efficiency and productivity
- Finish the job quicker.
5 Construction Painting Problems
After a paint job, you’ll usually pat yourself on the back for a job well done. But then, as time passes, imperfections and issues start to pop up. While some are so small and can be ignored, others need immediate action if you don’t want them to grow bigger.
1. Cracking, Flaking, and Clumping
When vein-like lines start to appear; this is called crackling. When it happens on at least one coat, these lines look faint. But they can grow and deepen, causing the paint to turn into dry, jagged flakes that chip off.
Causes of Cracking, Flaking, and Clumping
There are several causes of cracking, inadequate surface prep work being the main one. Overly thin paint and applying it too thinly may be another reason for it to crack. Contrariwise, being too heavy with painting can lead to mud cracks, where the dried paint looks swollen and clumpy when it’s too thick. Another reason for cracking is not letting the paint dry enough between coats.
Be that as it may, cracking can happen due to age. As the paint becomes brittle over time, lines will start to appear. This will make it less adaptable to humidity fluctuations and temperature changes.
How to Prevent or Repair Cracking:
With severe cracking, repainting the whole surface is the best course of action. If it’s still repairable, you may be able to fix a cracked spot with minimal issues; follow these steps:
- Remove the cracked and flaking paint. Depending on the severity, you can use a scraper, heat gun, wire brush, or chemicals.
- Sand the surface, feathering the edges for it to blend.
- With a tack cloth, clean the dust and prime the surface.
- For the actual application:
- (a) If you’re using a brush, dip the brush, coating one-third of the bristle length. Lightly tap the brush on both sides. Don’t drag it against the container’s edge.
- (b) For rollers, make sure it’s free from lint. Fill the tray halfway, dip the roller in the well, then on the ribbed portion. Do this until the roller is evenly coated.
It’s also best to cleanly feather out cutting in, then evenly reapply paint. This technique will prevent massive buildup in corners where paint usually overlaps. Giving the paint an adequate amount of time to dry between coats is also vital. Moreover, use the same kind of paint used initially.
To avoid cracking, you should use latex-based paint as it’s known for being flexible and adheres well.
Related: How to Be an Effective Construction Project Manager
2. Chalking
Chalking happens when a white fine powder forms on exterior paint and often happens in sunny areas with hot temperatures. Highly visible in lighter paint shades, chalking is most likely to occur on low-quality aluminum siding and wrongly sealed porous materials.
Causes of Chalking
It’s natural for some chalking to take place over time as exposure to weather changes releases the pigments in paint. Besides that, over thinning paint before applying it is another cause of chalking.
However, using the wrong product can lead to more severe effects. Other than low-quality exterior paint, using interior paint for exterior jobs can cause severe chalking. This is because both products contain a high amount of extenders, which are white, powdery additives.
Ways to Prevent or Repair Chalking:
The most straightforward way to avert chalking is to use high-quality exterior paint in the first place. For repairing projects, remove all chalking by either power washing or using a TSP (Trisodium phosphate) solution. Rinse and let it thoroughly dry. Then, apply high-quality paint.
3. Alligatoring
Alligatoring is named such because it’s a paint problem that resembles a reptile’s skin. Initially, it’s just checking, a subtle wrinkling of the paint. It then develops into wider rectangular cracks and is more common in oil-based paints.
Causes of Alligatoring
To adapt to temperature changes, paint contracts naturally and expands. Consequently, alligatoring happens because the paint loses its elasticity. In some cases, an incorrect application can hasten this process. These are a few causes of quick alligatoring:
- Applying a rigid coating (oil enamel) over a more flexible and softer coat (latex paint or primer)
- painting a top coat over a glossy finish that doesn’t bond properly, or not letting the primer, paint, or topcoat to dry fully
How to Prevent or Repair Alligatoring:
Fixing an alligatoring problem is relatively simple. First, remove the “scales.” You can sand it down, scrape it off, use a heat gun, or apply chemical removers. To clear the dust, thoroughly rinse it and let it completely dry. Then, prime the surface and also let it dry. Finally, repaint.
Related Article: Do’s and Don’ts of Residential Roofing
4. Blistering or Bubbling
When small- to medium-sized bubbles form under paint film, this is called blistering. You can commonly see this on wood siding and trim.
Causes of Blistering or Bubbling
There are a few reasons why bubbles appear on the painted surface. One, solvent vapor was trapped in when the paint dried too quickly because it was applied on a hot surface under direct sunlight. Two, poor indoor ventilation lets moisture escape through the walls. Three, low-quality latex paint or poor substrate surface preparation allowed high humidity, dew, or rain to penetrate after the paint dried. Four, trapped moisture caused the paint film to expand because the paint was applied to damp wood.
Ways to Prevent or Repair Blistering or Bubbling:
The first thing you need to do is scrape away all the blistered paint. Completely sand it until it’s just bare wood. Before proceeding with primer, make sure that it’s scorched. Then, with high-quality latex paint, paint the surface not under direct sunlight and in non-humid conditions.
5. Peeling
Peeling is one of the most common paint problems and can occur on both exterior and interior surfaces. Essentially, peeling is when the paint curls up and chips off.
Causes of Peeling
Moisture is the number one cause of peeling. Areas with high humidity, like kitchens, wet basements, bathrooms, and hot tubs, cause interior moisture. More than that, a leaking flashing on an exterior wall-and-roof intersection, like a chimney, can let water seep in, wetting the plaster behind the paint film. This causes the paint to detach from the surface.
Apart from moisture, poor adhesion is another major cause of peeling. Usually, the top paint layer is separating from the underlying paint layer. Several factors might have lead to peeling from poor adhesion, including:
- Low-quality paint was used
- Poor paint surface preparation
- Blistering of paint became worse and started peeling
- or oil-based paint was used on a wet substrate.
How to Prevent or Repair Peeling:
Proper ventilation is the key to avoid paint peeling. Like bathrooms and kitchen, high moisture spaces add an exhaust vent fan to extract humidity and release it outside. Proper wall and ceiling insulation is also an excellent way to reduce moisture. If flashing in chimneys or other wall-and-roof connections are damaged or missing, repair or replace it.
For peeling paint repairs, scrape the old peeling paint away and feather-sand the involved areas. Clear the surface from any dust particles with a tack cloth. If you chose to rinse it off, wait for it to dry completely before applying primer. Finally, paint the surface with a high-quality (preferably latex) paint.
See Also: Mentoring Apprentices in Construction: Importance, Benefits, and Tips
How Project Planning Software Can Help
The best way to stay organized is to make use of tools. While you can rely on old-fashioned pen and paper, having stacks of files can be messy, which sort of defeats its purpose. On the other hand, project planning software proves to be more efficient and tidier as everything is digitalized.
Garrick Revels is the CEO of Pro Crew Software and a Certified Building Contractor at GCM Construction, a large concrete and foundation company in the Tampa Bay Area. With 18 years of experience in construction and a passion for technology was the catalyst for creating Pro Crew Schedule.